The Legend of Zelda: Echoes of Wisdom's Lands of the Goddesses Main Quest will take you to three distinct regions, each with their own gimmicks and elements to tackle. Hebra Mountain, home to the Rift On Holy Mount Lanayru Main Quest, is one such region.
Along with Eldin Volcano and the Faron Wetlands, Hebra Mountains is one of three end-game areas you'll need to complete in order to unlock the final main quest.
In this section of our walkthrough, we're covering the Rift on Holy Mount Lanayru, which includes the Hebra Mountain Passage, meeting Condé, the Stilled Hebra Mountain Cave rift, climbing Hebra Mountain, and the Stilled Hebra Mountain rift.
If you've made the climb and need help clearing the dungeon, head on over to our full walkthrough for Faron Temple.
The Legend of Zelda: Echoes of Wisdom Walkthrough - Rift On Holy Mount Lanayru Main Quest
Hebra is directly north of Hyrule Castle Town, in between the Eternal Forest and the Northern Sanctuary. A guard is standing by some trees and just ahead of him, there's a cave which leads to the mountains.
There are no shops on Hebra Mountain, and only one Smoothie shop, so make sure you bring some Chill-Proof Smoothies and Potions with you. Check out our complete list of Smoothie Recipes for the best ones.
Head into the cave, which is the Hebra Mountain Passage.
Hebra Mountain Passage
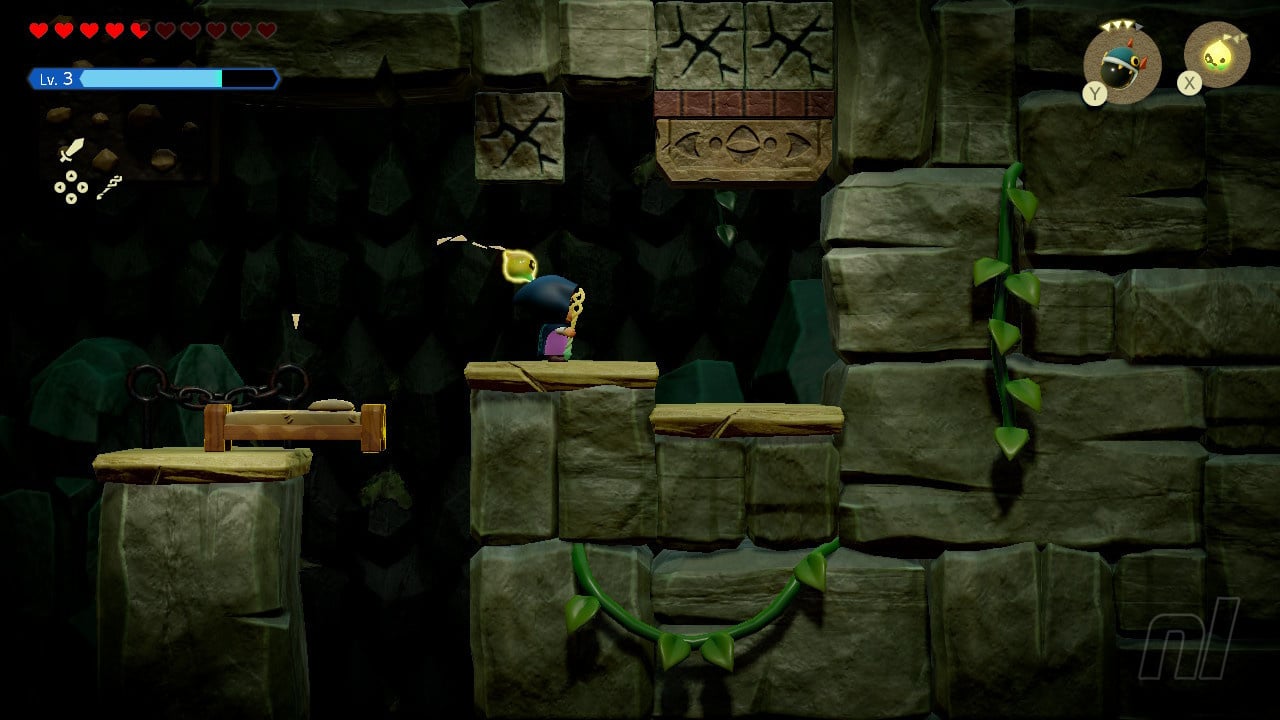
First up, you'll need to climb up the wall above Zelda. Use Beds or Water Blocks to reach the wall, and then send out some flying Echoes to deal with the Keese as you climb to the right.
Once you reach the other side, use you Bombfish Echo to break the wall. Either send it over there with Y or build a good old-fashioned Bed Bridge.
In the next section, you'll need to ride the platforms up to the top of the room. Do that with the first one and then bomb the blocks above by placing a Bombfish on the second lift. There's a wall to the left you can also destroy for 9 Warm Peppers.
Next, you'll spot a big rock on top of some bombable blocks. Climb up the wall on the left, defeat the Peahat, then use a bomb to break the block here. Bind the big rock and pull it so it's no longer on top of the blocks. Go back down, ride the lift up, then break the blocks so you can reach the other side and exit to the surface of Hebra Mountain.
Hebra Mountain
You'll emerge on a snowy mountain. Drink a Smoothie to stop yourself from taking damage from the snowstorms up ahead, and follow the path south and around. You'll find a Stamp here as well as the Ice Keese Echo, Snomaul Echo and Leever Echo.
Keep walking around and make your way through the snowstorm. If you have some decent Smoothies for ice, then you can take a detour and head north for a Might Crystal above a cave. And right before the broken bridge, if you head north past the Wolfos, you can find a Smoothie Shop that has a Side Quest, and a Waypoint.
After you've passed the bridge and circled around the waterfall, you'll find someone lying on the snow. Talk to him and he'll take you to his house.
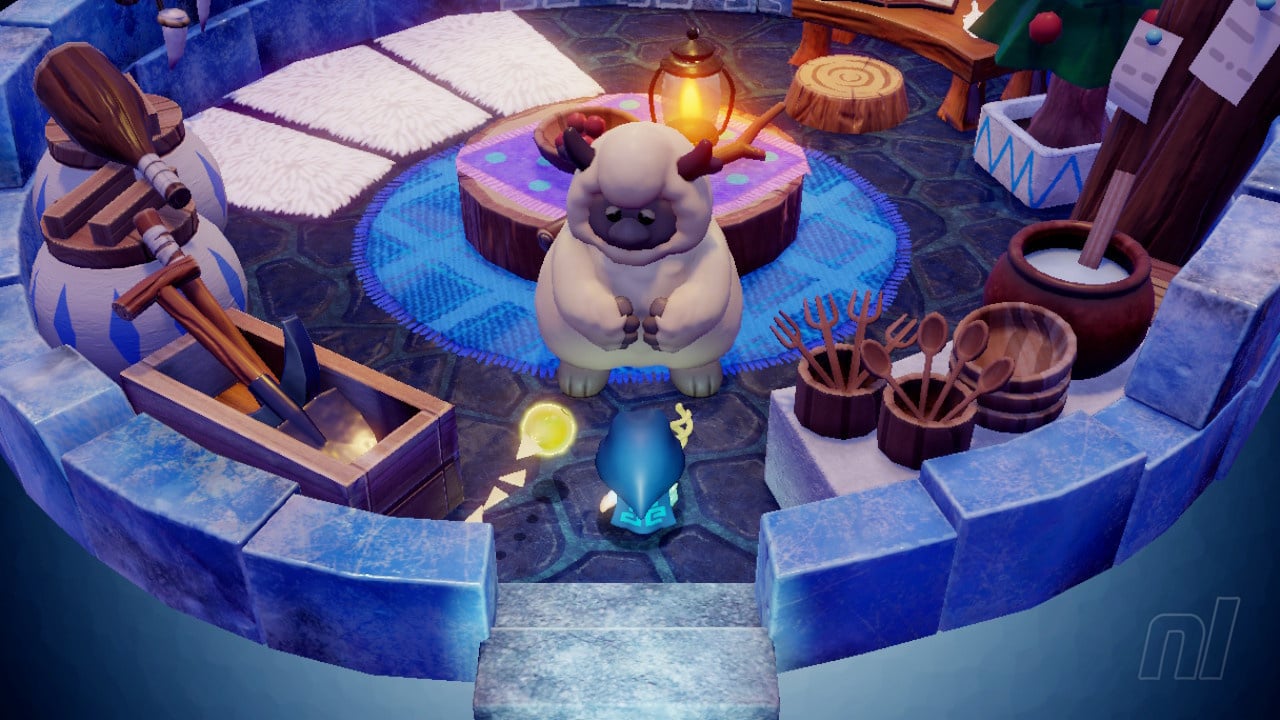
This is Condé and he'll be key during your time in Hebra. Anyway, examine everything in Condé's house to let the storm subside, and you'll be able to leave again. Go into the cave to the right of the house.
Using fire-based Echoes, melt the ice in the next few rooms and grab the Ice Block Echo while you're here. Eventually, you'll see Condé attempting to shovel away a rift. Head left, grab the Snowball Echo, and then you'll find a rift entrance at the back.
Stilled Hebra Mountain Cave Rift
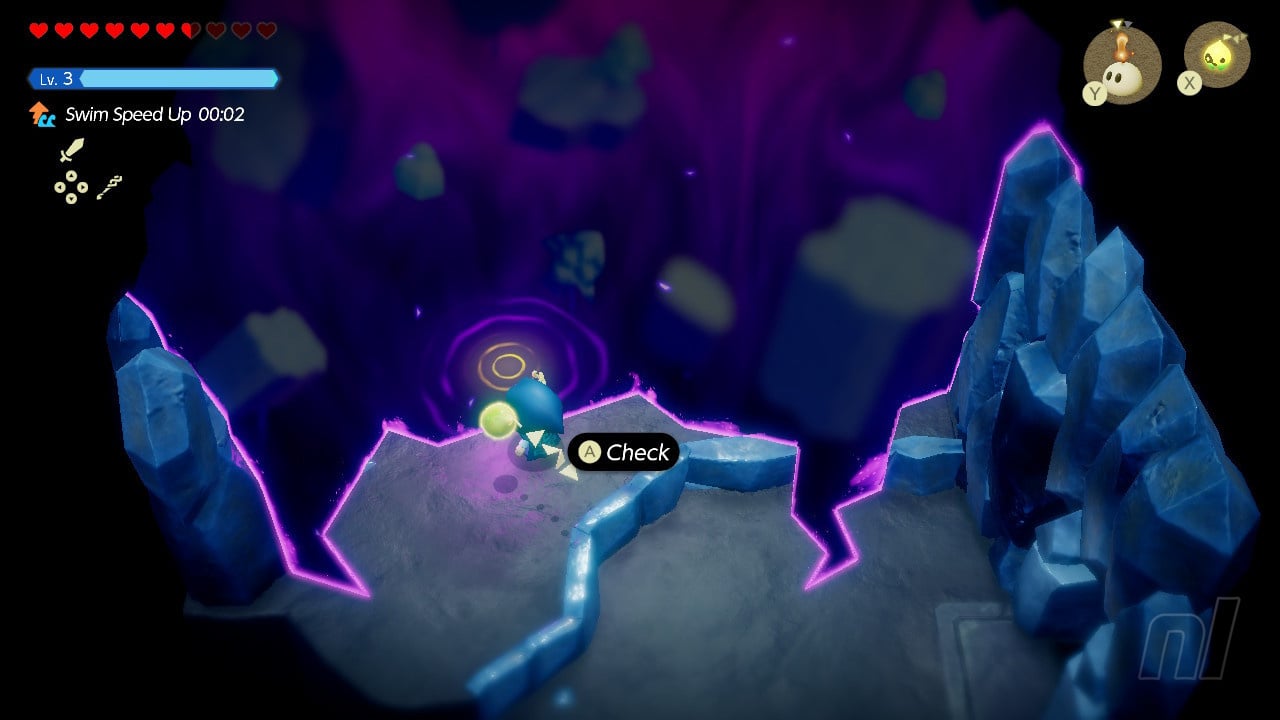
Tri's friends are trapped in five locations here. You know what to do...
- From the entrance, head down and left, melting ice along the way. You'll find your first energy mass in an icicle.
- Back to the entrance, head left to the icy lake, and melt the icicle in the centre for another mass.
- Head right, follow the icy path all the way to the end. Climb up the wall with Echoes to reach the next energy mass.
- Go back to the centre and walk all the way north. Climb the wall of trees, then melt the icicle near the top for another energy.
- Climb up to the very top of the wall, then jump to the right for another energy mass.
You'll get 2 Might Crystals and Tri will power up a little bit. Then you'll be back in the cave. Head right and Condé thinks he's solved the problem. A new path has opened up north.
If you head to the right behind Condé's house, you'll find a Might Crystal and a Stamp.
Climbing Hebra Mountain
You still have a big mountain to climb, so let's get going. Climb the ladder to reach a side-on room, where you should melt as much of the ice as possible. Make your way up the top and you'll find a Monster Stone in a chest here — watch out for the snowballs!
Climb the ladder on the right to reach the outside. Touch the Waypoint, then head right to fight an Ice Wizzrobe for an Ice Wizzrobe Echo. A treasure chest buried in the snow in the south contains 20 rupees, so pull that out. You can also climb above the Wizzrobe lake area for a Heart Piece.
Head back to the left and cross the lake, picking up the Heart Piece to the south as you go. From the Heart Piece, you can use a Flying Tile Echo to reach a cliff on the other side of a large chasm. Here, you'll find a cave with the Ice Spikes accessory and another Might Crystal.
go northwest to reach another cave.
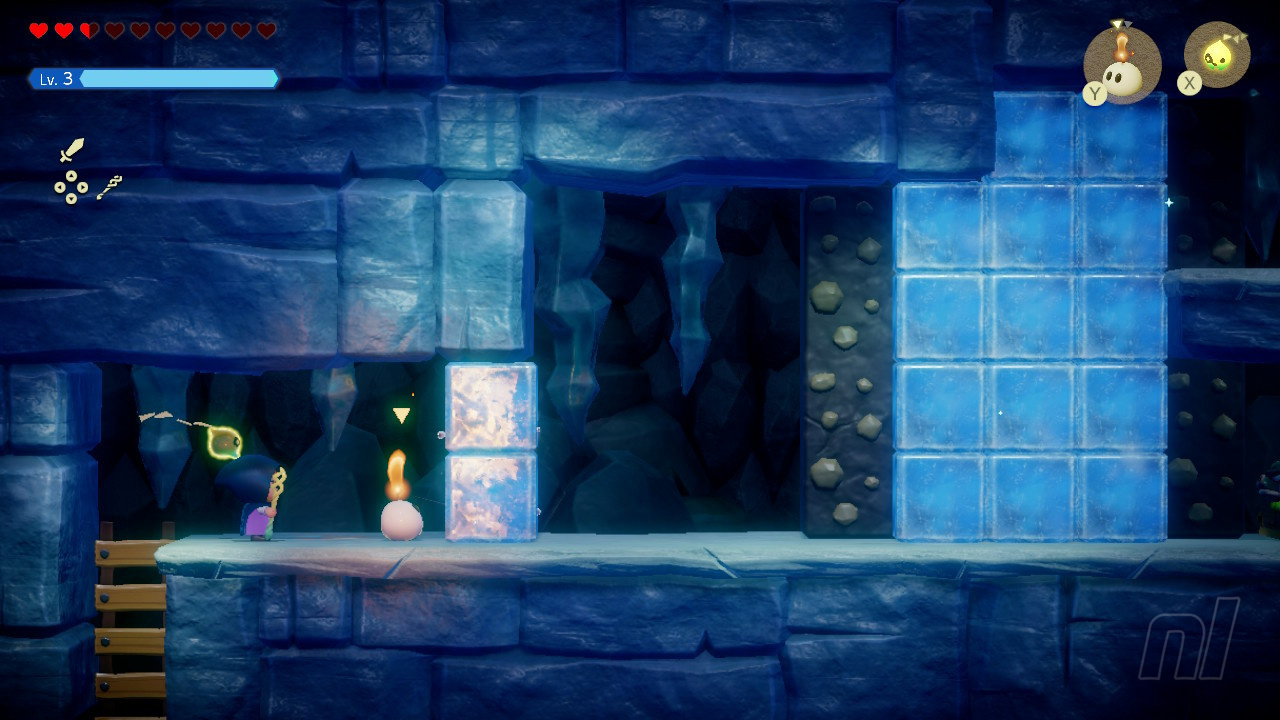
Use beds to climb up to the next room in the first slipper room — a Zirro will be blowing up the floor in here, so be careful. Keep heading north, blocking the wind currents if needed, until you reach a room full of ice blocks. Defeat the Keese to unlock the doors, then head left, melt some ice, and get 6 Monster Guts.
Return to the previous room and head north. Defeat and grab the Freezard Echo then head through the door on the left. Go left again, then climb the stairs in the next room. In this room, climb to the left while avoiding the falling icicles — you can Bind them if they're causing trouble.
Ride the platform up on the far left, avoiding the ice gusts. Then, block the ice vents here with a boulder — use charged 'Y' to get the one at the bottom, or hold it in place for the whole ride up. Climb the ladder up top. Exit south.
You're almost at the summit. If you want, head east here to find the Hebra Mountain Passage Rift and the Stamp Stand Swallowed Side Quest.
Otherwise, make your way across the winding paths to the west here, avoiding enemies and snowballs — the Moa Echo is here. Along the way, you'll spot a Heart Piece on a tall pillar.
Keep following the path east until you reach Condé again. Watch the cutscene and then touch the Waypoint before heading north. To the west is a chest with 50 rupees inside, but not much else. Go east to find another cave and enter.
In this cave, climb to the left, avoiding snowballs where you can. You can stop them with Echoes or simply Bind them. Keep climbing up and manoeuvring around the snowballs — at the top left there's a chest with 4 Monster Fangs. Exit to the right.
Get the Temper Tweelus Echo in the watery room, then head south, where you'll emerge at the summit. Condé's brother has ignored him and gone north. Luckily, there's a rift here for you to enter.
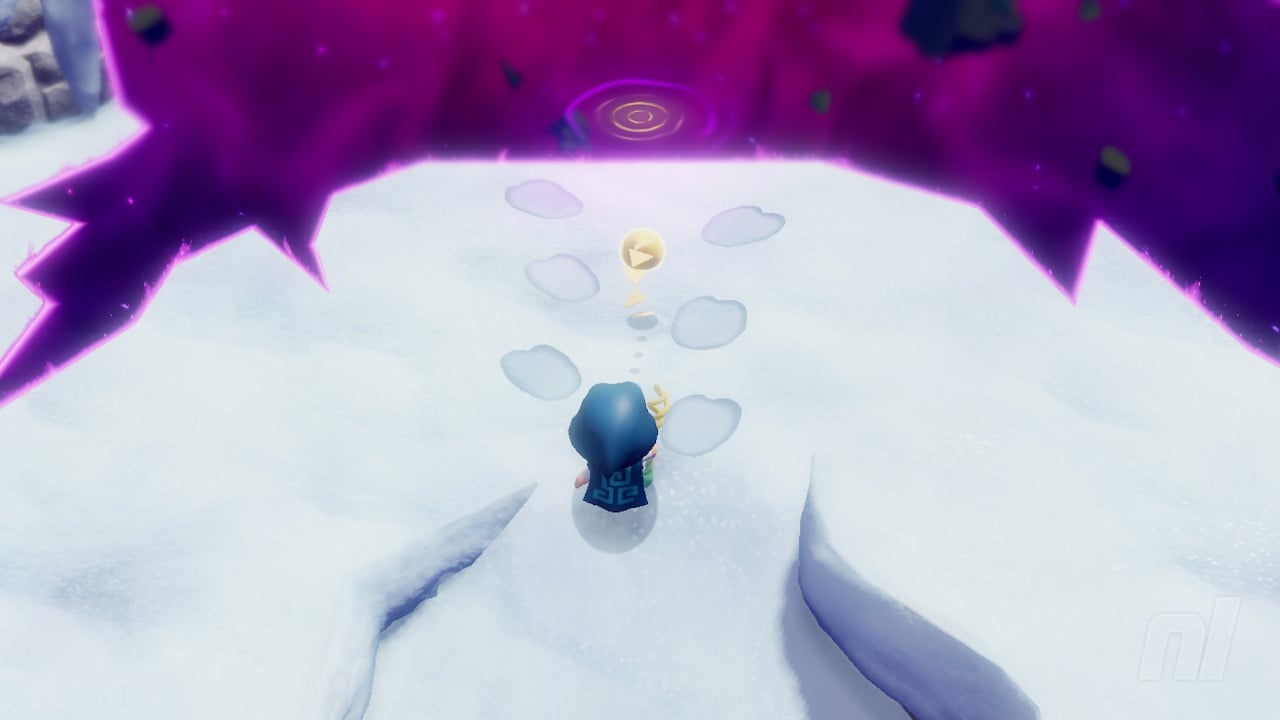
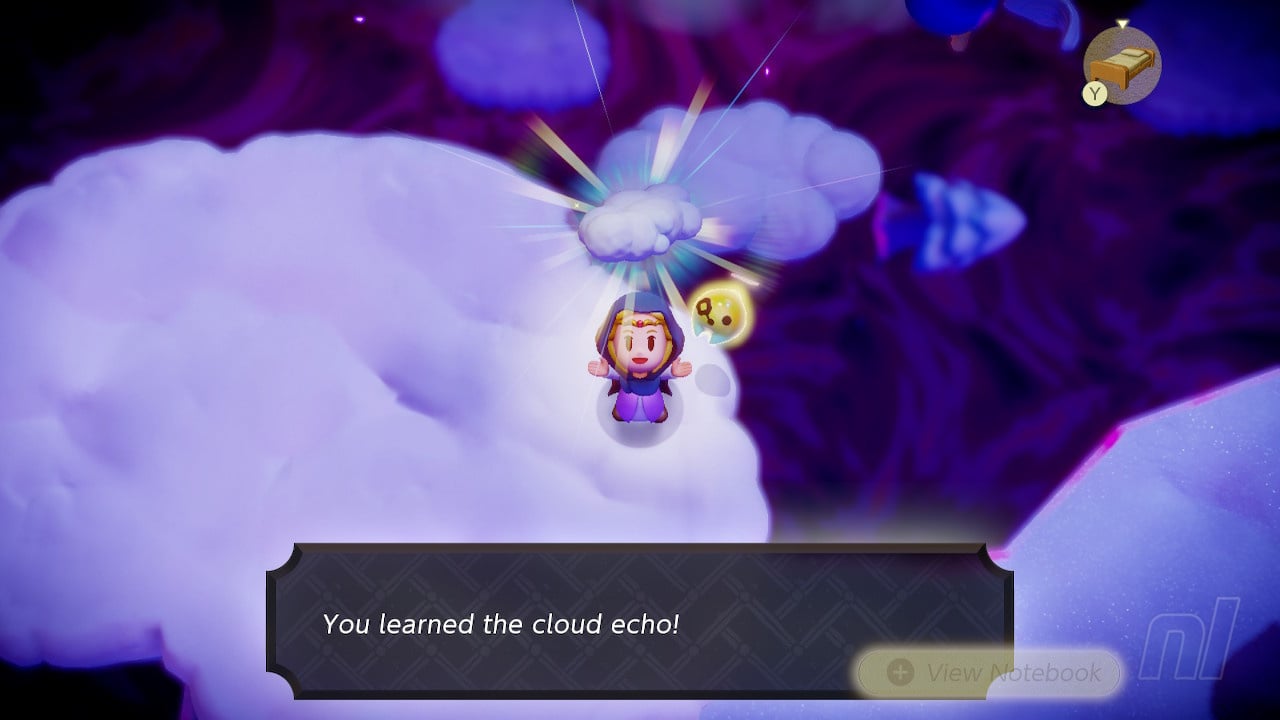
Stilled Hebra Mountain Rift
To start with, this is pretty straightforward — follow the cloudy path north to reach a solid landmass, then hop onto the clouds on the left. Capture the Cloud Echo — an invaluable Echo for traversal. Then hop to the left for a Monster Stone.
Go back to the clouds, then head north, using the Clouds to progress. Continue north to a cave. Drop down, head left, then climb up using Clouds and a Bombfish to reach a chest with 3 Warm Peppers. head right and drop down for another chest with 20 rupees inside.
Continue heading right to reach a section with Ice Slugs — grab the Ice Slug Echo if you defeat one. Climb to the top to get back outside, then follow the clouds south and east to some large landmasses. Climb up and, eventually, you'll reach flat solid land again.
Eventually, you'll find a cave with a chest containing 50 rupees and the Wolfos Echo roaming about outside.
Back outside, continue to climb up, melting the ice as you go, to reach your destination Lanayru Temple Dungeon.
That's all for this section of our Echoes of Wisdom guide. For more help, hints, or tips, head on over to our main Echoes of Wisdom walkthrough.


Comments 0
Wow, no comments yet... why not be the first?
Leave A Comment
Hold on there, you need to login to post a comment...