Dungeons! Yes, that's right, Echoes of Wisdom has traditional dungeons, and it has them in spades. The Suthorn Ruins is the very first dungeon you'll be tackling in the game, and it teaches you the basics of dungeon exploration, treasure hunting, and boss battling.
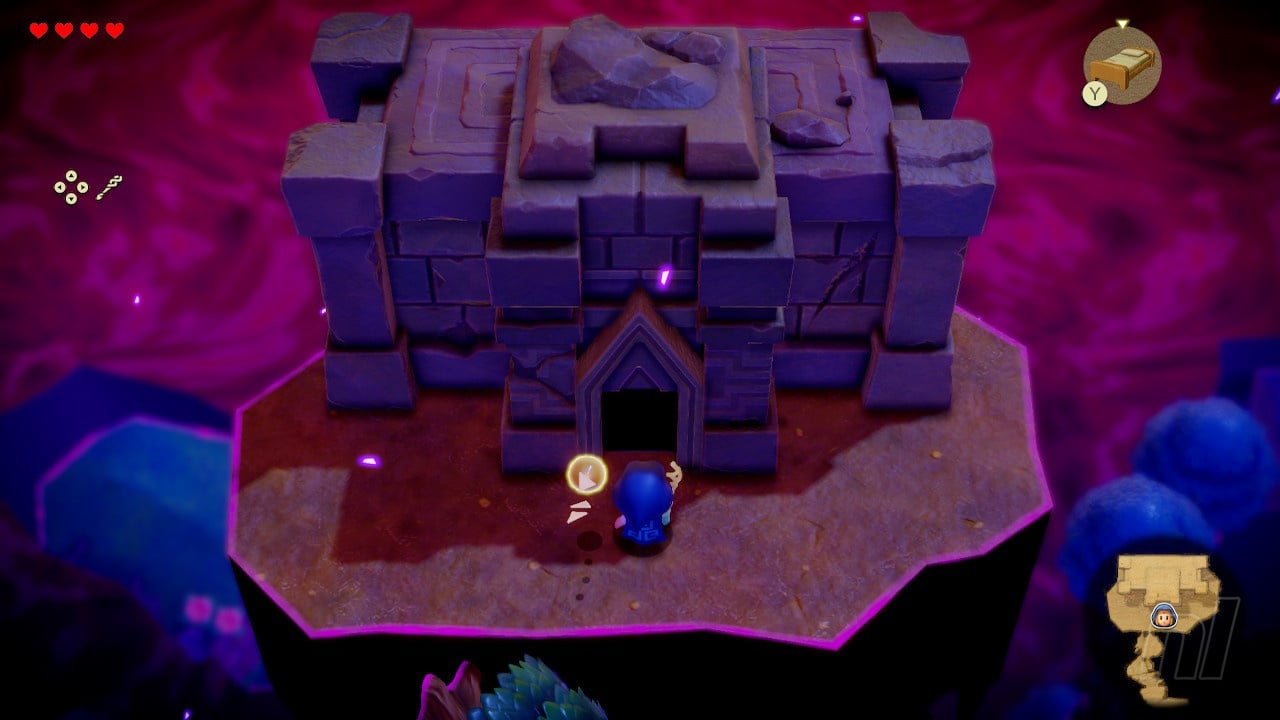
Having made your way through Suthorn Forest to investigate the Mysterious Rifts plaguing Hyrule, you'll reach the Suthorn Ruins, a dilapidated temple that's infested with monsters.
This walkthrough covers the Suthorn Ruins dungeon, every puzzle solution in the dungeon, treasure chest locations, and the surprising miniboss that Zelda will face off against.
The Legend of Zelda: Echoes of Wisdom Walkthrough - Suthorn Ruins
Suthorn Ruins is the first dungeon in Echoes of Wisdom and acts as a tutorial for the other dungeons. It's not too difficult, and by following our guide, we'll make things even easier.
To get here, you'll have had your first taste of the Still World thanks to the Stilled Suthorn Forest Rift. This rift is very basic, and like the upcoming dungeon, is more of a tutorial on what to expect from the Still World (although don't miss the rupees you can grab on the way).
Suthorn Ruins Dungeon Walkthrough

As you enter the Suthorn Ruins, activate the Waypoint and go through the door to the north. You'll be learning a brand new ability here, so pay attention — it'll be crucial for the rest of the game!
In the very first room, you'll spot spot a huge rock. Tri will teach you about Bind. Use Bind to move the rock and drop it into the pit below, then walk over to the switch to open the locked door on the right.
In the next room, you want to move the rock using Bind again, placing it in the gap in the water between two platforms. Head up the slope and over the rock to a room with a chest buried in the sand. Grab it with Bind and pull it out to get 5 Radiant Butter — remember, these are also good for making drinks, so don't use them to heal if you can help it.
Leave, and head down the ladder that was covered up by the rock.
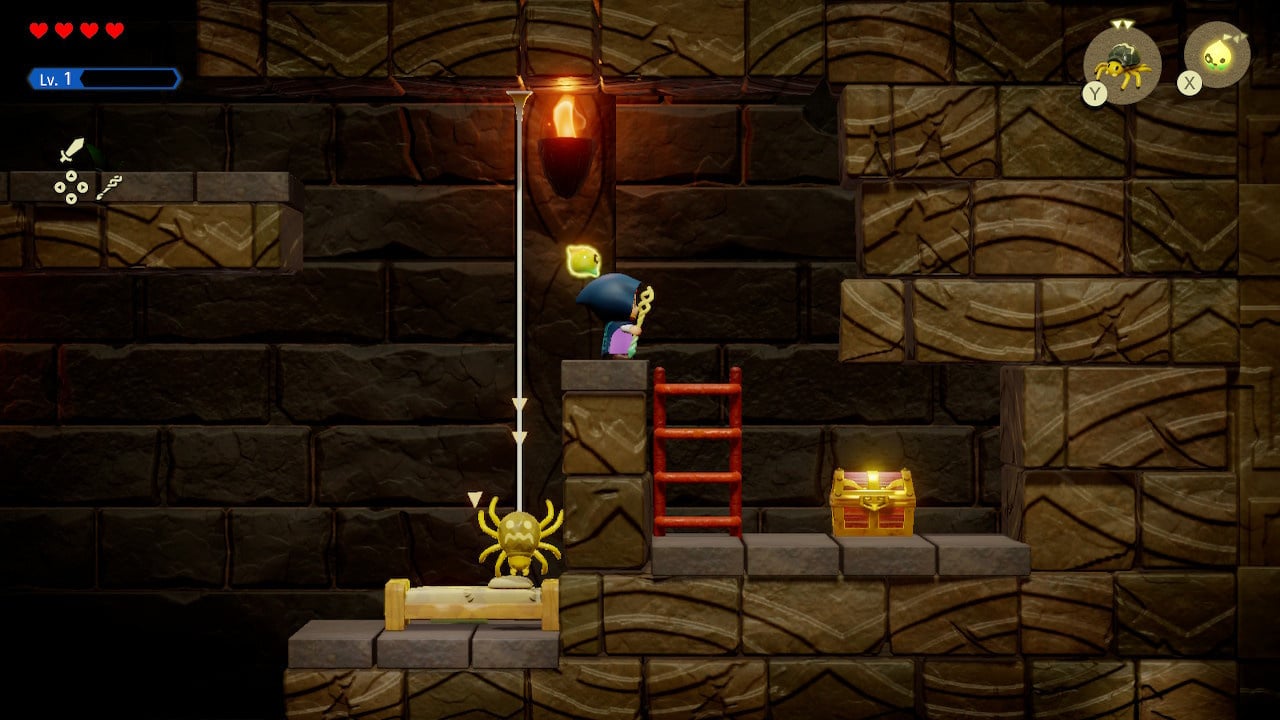
Here, you'll want to grab the Strandtula Echo, another brilliant Echo and one of the best for the side-scrolling sections throughout the game. You can summon the Strandtula to create spider webs you can climb up.
Use them to grab the chest at the top of the room for the Dungeon Map, meaning you can check where you are in the Suthorn Ruins. Then leave via the right ladder.
In the next room, use beds or the Strandtula to get across the gap and into the next room.
You'll recognise this next room as the place where you controlled Link during the tutorial. Head left and down and defeat the enemy for an Ignazol Echo. Head north and ride the lift up to reach the Suthorn Ruins' second floor.
Suthorn Ruins Dungeon - 2F
At the top of the lift, you'll come across a Darknut at the top of the stairs. Defeat it with whatever Echoes you have for the Darknut Echo.
Head left and then down the ladder, using the Ignazol to light the torches in the room. Use Bind to move the boulder, and use the Ignazol to burn down the boxes to reach the final torch. You'll then be able to access the ladder on the right.
You'll emerge in a room with a Waypoint. Activate it. Then look at the four statues on the wall. The one to the right of the door has a shield on it. Use Bind to pull it off, then enter the door. Defeat the Darknut, then use Beds to grab the chest containing 50 rupees on the left of the room.
Finally, head north for a miniboss.
Suthorn Ruins Miniboss - Link
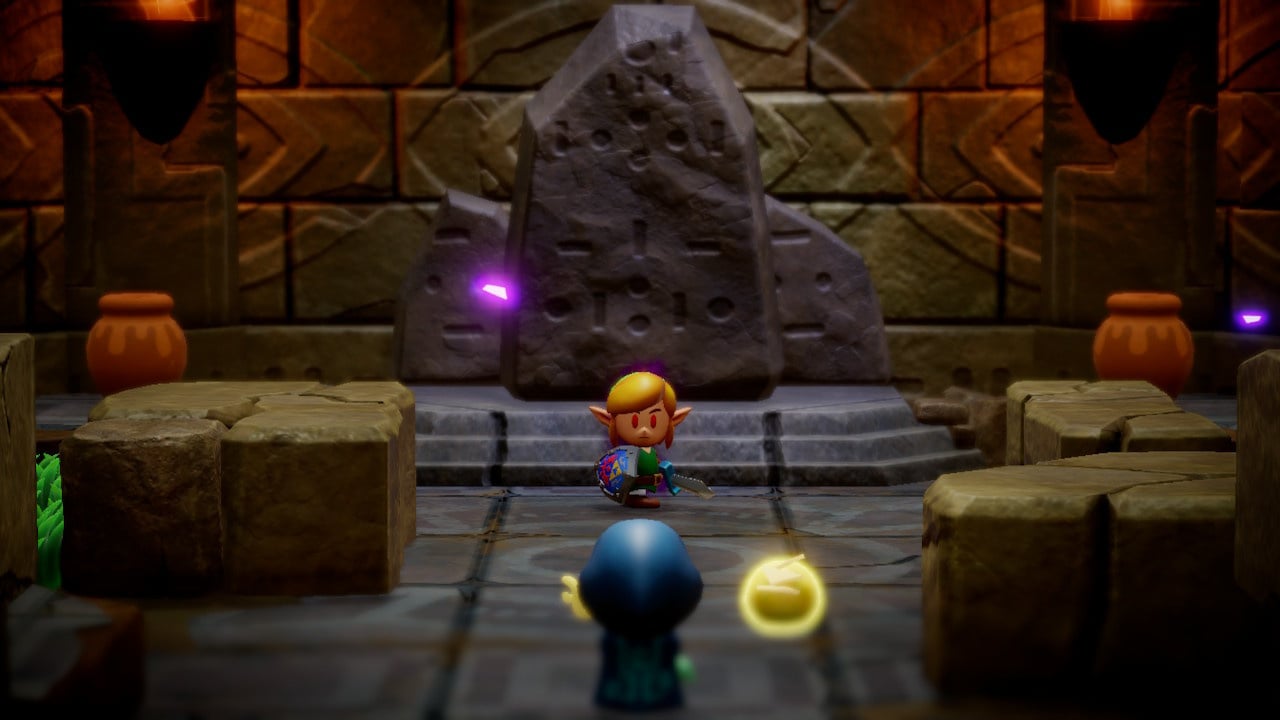
You remember this guy, right? Something is not right here... but you have to fight him.
For this miniboss, you can't just go all-Echoes-blazing in this fight, The first thing you want to do is use Bind on Link's shield and pull it off. Then, summon your best Echoes — we used a Darknut — to do damage. You can throw pots at him too if you really want.
Keep doing this until the enemy turns purple, which means he's faster and stronger. Just continue what you're doing and eventually, you'll win.
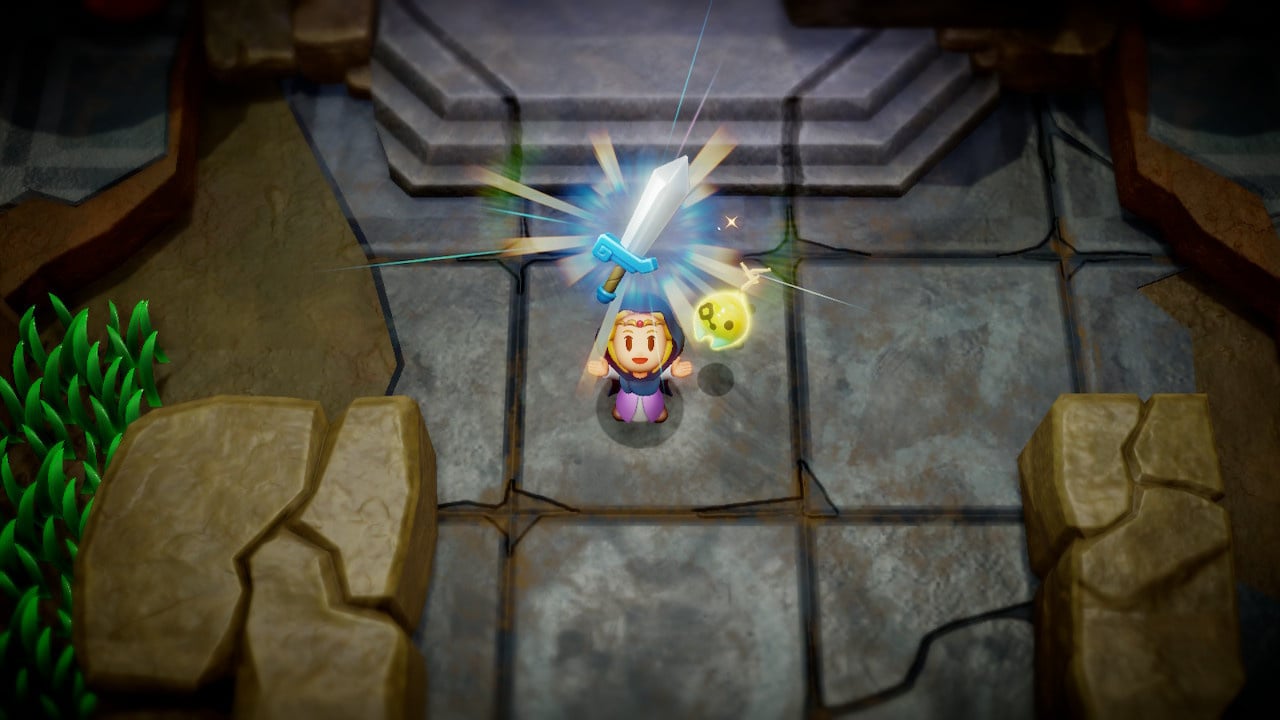
After defeating the boss, you'll get Sword, which grants you access to Swordfighter Form. Immediately after the cutscene, transform into it and use your sword to destroy the black goo. Climb down the ladder to the next section.
In here, use Bind on the rock at the bottom and move it into the dip on the floor. Then, climb back up the ladder on the left and make your way across the gap. Use a Strandtula to climb up and over the gap to a treasure chest containing the Heart Pin accessory.
Exit to the bottom-right and then climb the stairs to enter the first floor.
Suthorn Ruins Dungeon - 1F
You're almost done with the Suthorn Ruins! In this room, activate the Waypoint in front of the large door, then head out the left door.
Catch the Deku Baba Echo — an Echo you need for a familiar gravekeeper later on — then switch to Swordfighter Form to defeat the goo. Defeat that Deku Baba, then destroy one last Deku Baba in the top right corner of the room to unlock the door to the north and west.
Head through the western door first and drag the statue on the other side of the bars to the switch on the right — use the slope to your advantage. You'll get 50 rupees.
Return to the previous room and head north. Enter the door and use Bind to grab the Deku Baba on the other side of the grate. Pull it to defeat it, then open the chest for a Silver Key.
Go back to the main hall with the Waypoint and head through the right door with the key. Move the statue behind the bars with Bind to place it on the switch and head down the ladder.
You'll learn about Reverse Bind here. Grapple onto the moving platform above and ride it to the other side of the room. Left go, ride the platform as normal, and continue grappling and walking until you reach the top. The chest at the top contains 20 rupees.
Climb the ladder at the top for another Bind puzzle. Create a bed staircase in front of the switch, then Bind to the statue. Carry it to the left, climbing the stairs to reach the switch, then place the statue on top. Open the chest for a Big Key.
Warp back to the main hall again, save it, and use the key on the door. You'll be encountering your first boss — check our guide on how to defeat the Suthorn Ruins boss if you're having trouble.
After completing the Suthorn Ruins Dungeon
After defeating the boss, that's the Suthorn Ruins done! You'll get a whole Heart Container, boosting your health by one. Tri will also gain a level and you get some Might Crystals, which you can use fairly soon.
Leave the Suthorn Ruins via the portal and you'll encounter Minister Lefte, who will lead you to Lueburry's House. You'll find out more about Link, the Sword of Might, and complete The Mysterious Rifts Main Quest.
Now you have a new quest — Searching for Everyone — where you need to find the King, the Commander, and Link. But first, you have a choice — do you visit Jabul Waters, or do you rescue the Gerudo Desert?
If you don't know which region to visit first, we've answered that very question in our Which Region Should I Visit First guide.
That's all for this Suthorn Ruins Echoes of Wisdom guide. For more help, hints, or tips, head on over to our main Echoes of Wisdom walkthrough.


Comments 0
Wow, no comments yet... why not be the first?
Leave A Comment
Hold on there, you need to login to post a comment...